The gif file would not upload properly to the website so I have instead formatted it so that the picture can be displayed in another tab or downloaded.
| cera.gif |
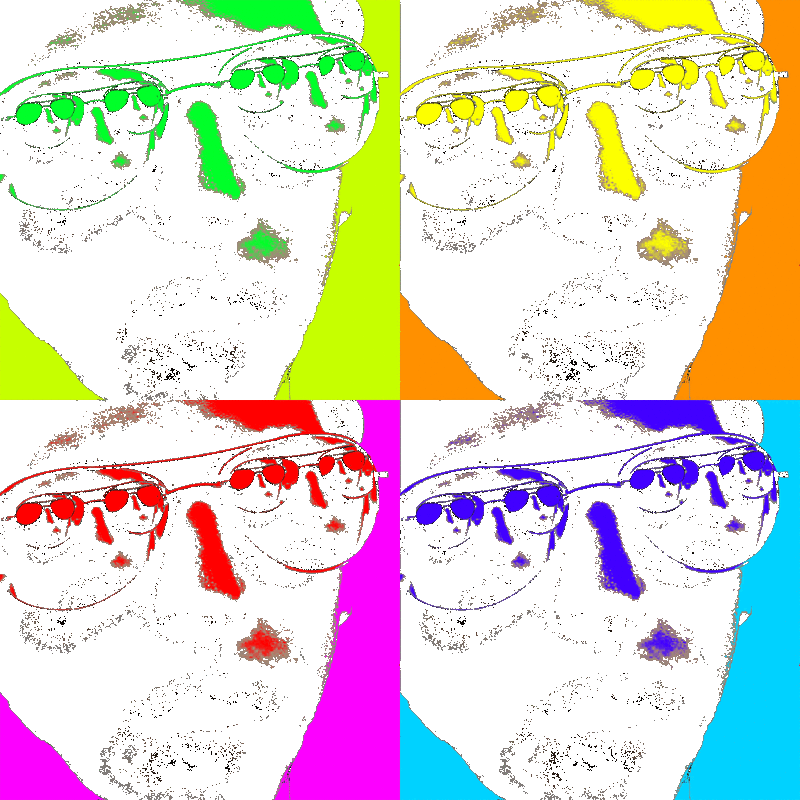
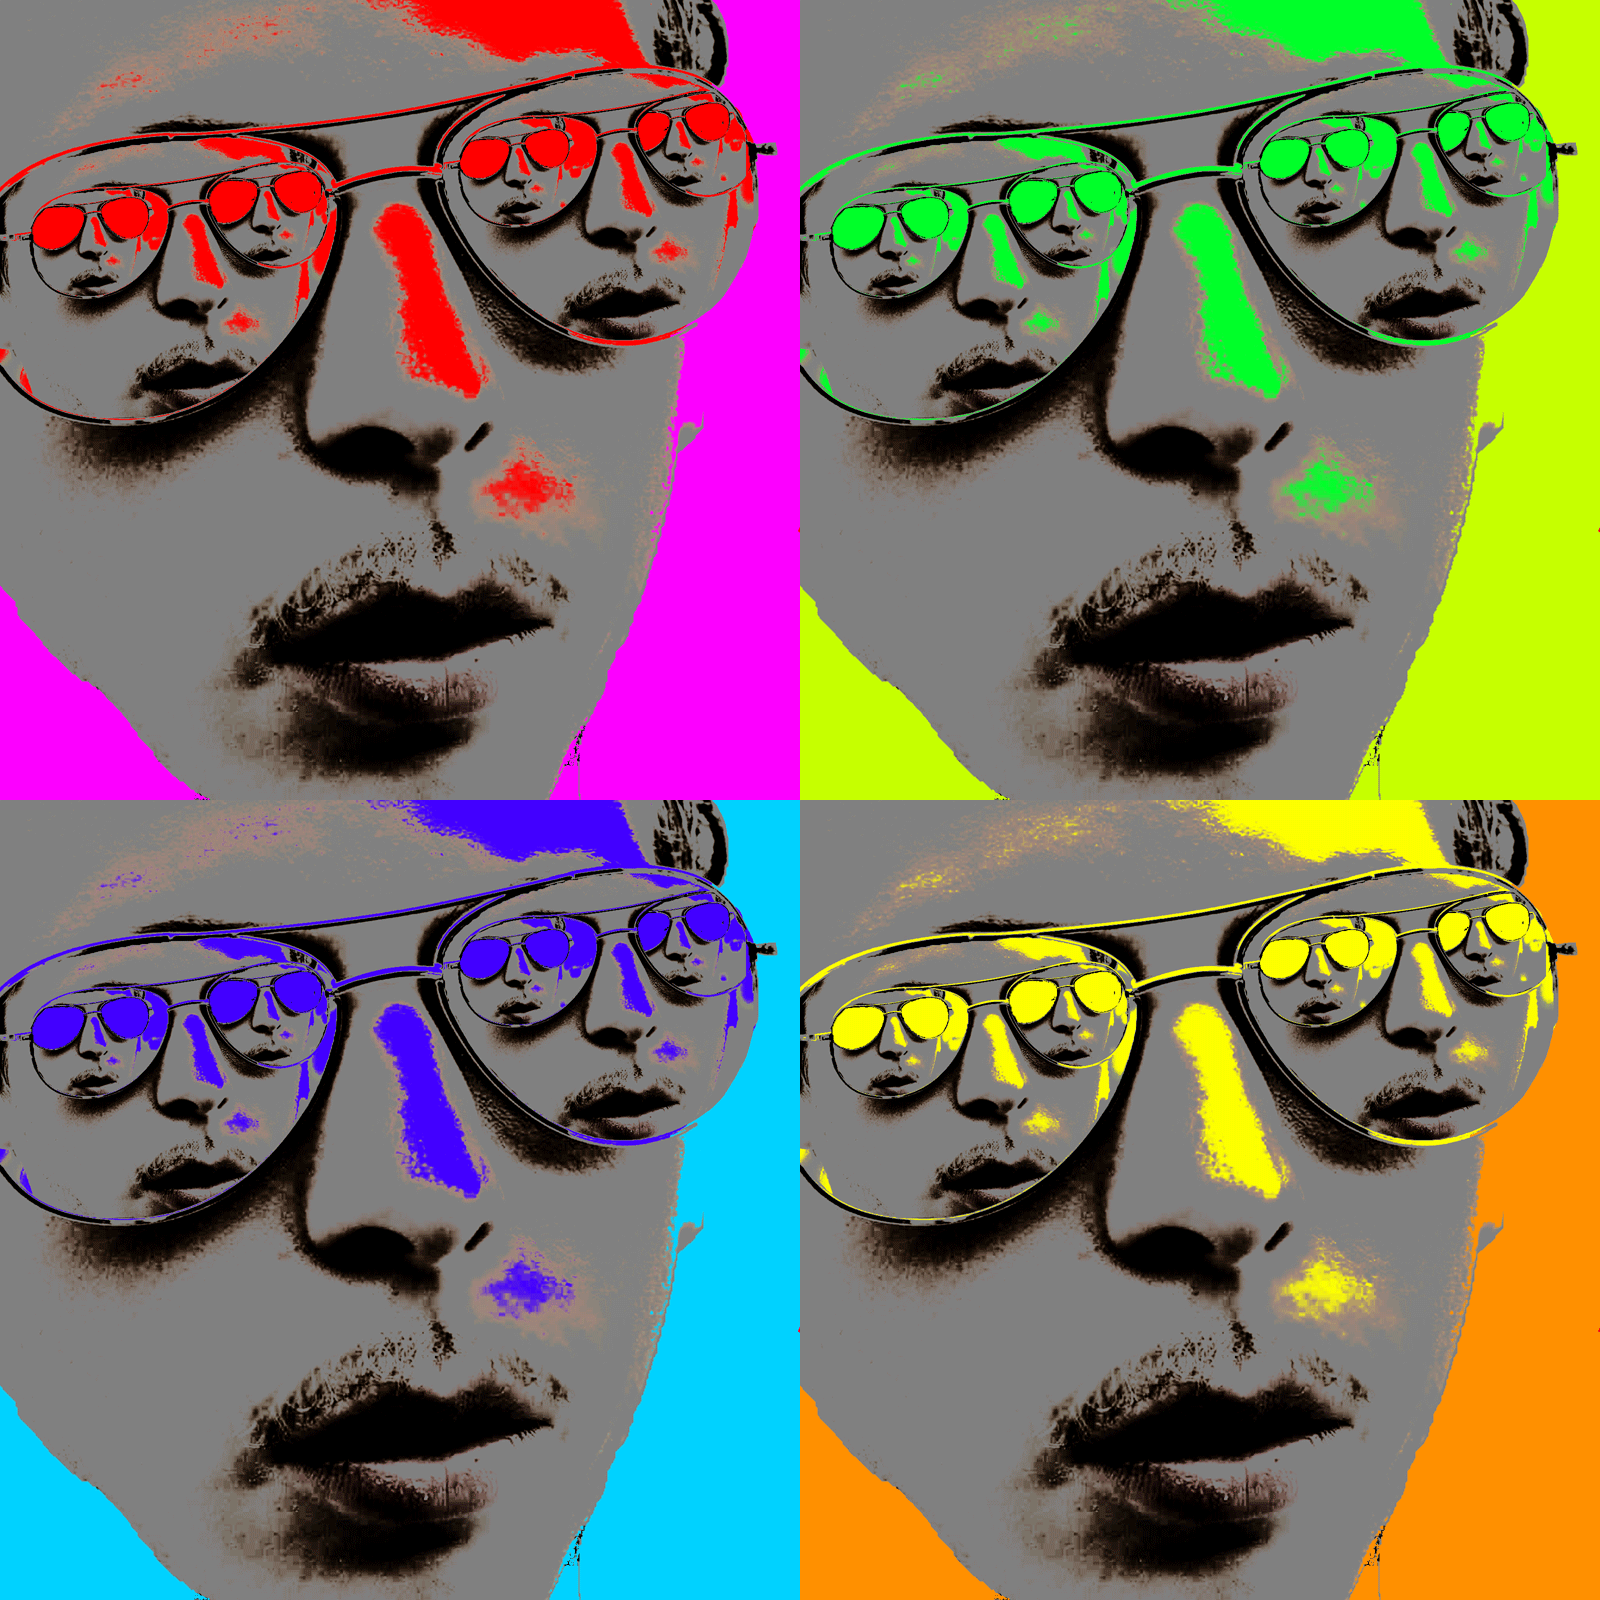
Michael Cera nine weeks project
step one open your pictrure of Micheal Cera
select the image tab and scrool down to crop and crop the picture so that is is a square
Use the eraser tool (short cut press E) to remove the background.
then use the eraser tool to remove the inside of his glasses.
copy the layer
Then click on the select tab on the top of the screen and scroole down to "color range.."
Use the dropdown menu to select mid tones and click ok.
then press shift and F5 at the same time
when a box saying fill pops up select 50% grey
the press ctrt and j at the same time
make a second copy of the first layer
then go to select at the top and scrool down to "Color Range..."
scrool down to shadows and click ok
the press shift and F5 at the same time
when a box labled fill pops up select black and click ok
the press ctrl and j at the same time
then hide all other layers but the one you just made and the one created early that is ony grey
the select the layer tabe and scrool down to merge visible and click on it
delete all other layers but the newly merged one
name the layer Cera
copy Cera twice and name the new layers Cera 1 and Cera 2
put cera above the other layers
select the layer of cera 1 and press Ctrl t
shrink and rotate the layer so that Micheal Cera's face is with in one of his own sunglass lense.
copy cera 3 so that the new layer is cera 4
repet what was done to cera 2 on cera 3 so that there is a Micheal Cera behind each lense of Micheal Cera.
Copy Cera 4 three times and name them Cera 5, Cera 6 and Cera 7
select Cera 4 and press Ctrl and t at the same time
shrink and rotate Cera 4 so that it aperes to be with in one of the lenses of Cera 2
repet this three times do that ther is a Micheal Cera in side the other lense of Cera 2 and there is a Cera in each lense of Cera 4
then merge all of theses layers.
name the newly formed layer Cera
create anew layer and place it begind Cera
name the new layer background
click on magic wand tool (shortcut-w)
click on background of Cera then select the the background layer
the outline of Micheal Cera's head should be outlined
go to the paint bucket (shortcut G)
Change the color to a purple by clicking on the large square below all the tools
click on the selected area so that the entire thing turns purple the disselect the are by clicking on it again with the magic want tool
change the color of the paint bucket to red and click on the unfilled area of the background area
then make four copies of both layers
then use the paint bucket to make each of the four background layers have different colors
then merge each background layer with a Cera layer
then transform each layer so they are each a quarter if the size of the picture.
then go to the windows tab and select animation
in then emanation box select new fame three times times
there should be four frames now click on the second frame and rotate each quarter sized Cera clock wise
do this two more times so that each frame has the Ceras in a diffident position
then go to the fine tab and click save for web
the when the box appears click save in the upper right corner.
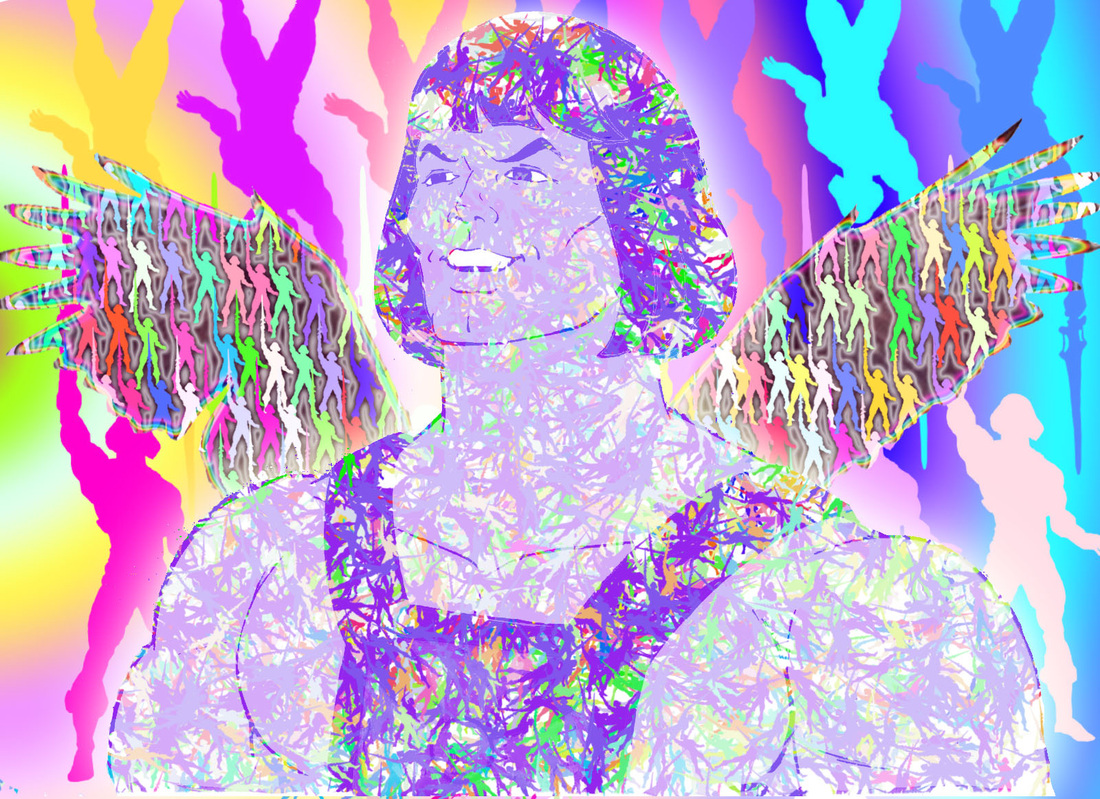
He-Man Nine weeks project
Open a picture and erase the background using the eraser then using the select the mid-tones and turn them grey, and turn the shadows black. In the case of this picture the some of the highlights also had to be turned black. Next create a brush by drawing an outline around something with the pen tool converting it to a selection filing it black and pressing ctrl j to put in on a new layer. hide all other layers and go to the edit tab and select define brush preset. Then delete any layers used to create the brush. next creat a new layer fill that layer white then create a third layer. on the third layer select your brush then go to brush setting on the side of the screen. Adjust the spacing to be larger and the angle jitter so that each time you use the brush it is slightly rotated. Then select the color dynamics and adjust them so ever time the brush is used the color is different. then use the brush all over the third layer. then create a layer mask. select the he man layer with ctrl a copy it with ctrl c select the layer mask by pressing alt as you click on it then paste on the layer mask with ctrl v then inverted it with ctrl i. then press alt on the actual layer and go to layer>layer styles>outer glow and give it the default glow.
then open a picture on an eagle. erase every part of the eagle but the wings and use the marque tool around one of the wings. cut it in fo anew layer so that you can move both wings independently. once they are in position merge the layers. on a layer between the he man and the eagle wings layer make a new layer \and cover it with the he man brush. use color dynamics to make the brush multicolored. then give the brushes a black and white outer glow. then convert it to a clipping mask. Create an inner glow for the wings and make it a rainbow. the layer order should be big Heman then little hemans then wings then a white layer. create a new layer above the white layer and put a bunch of heman brushes with the color dynamics altered so they are each a different color. finally on the white layer and press g to go to paint bucket but instead change it to gradient make the gradient. the layer ofder should be heman then tiny he mans then wings then other heman then rainbow.
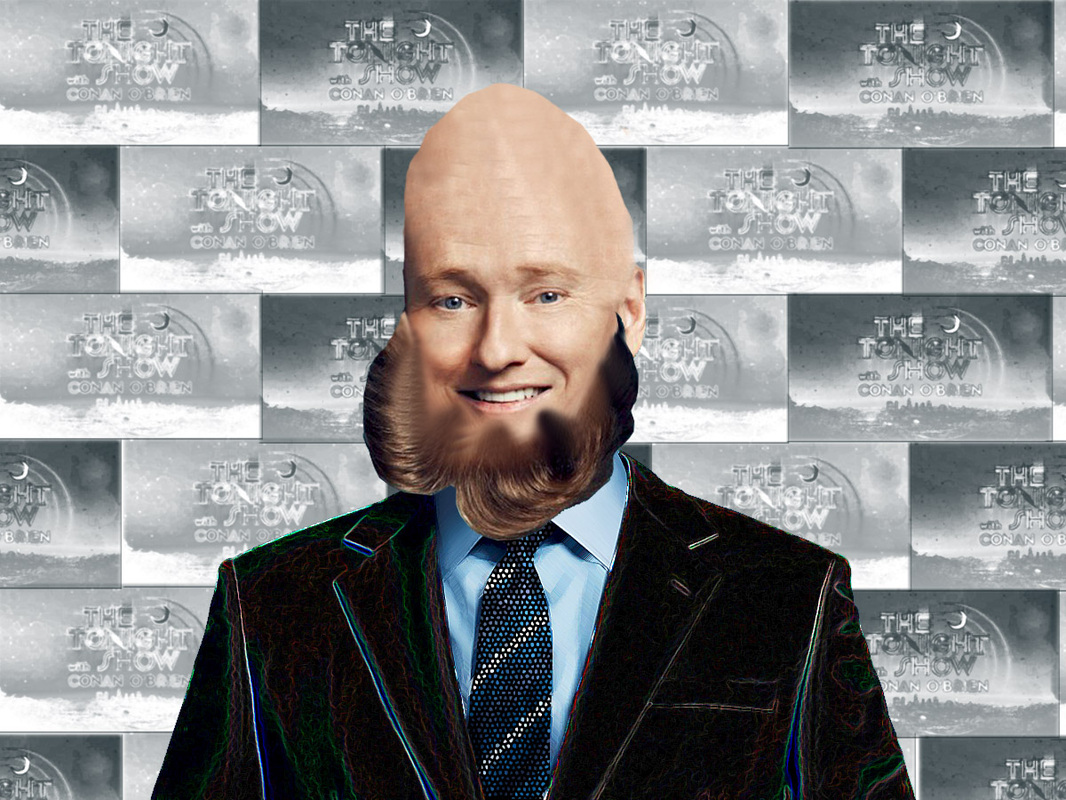
| open_picture.docx |
| 12345.docx |
